If you’re a music lover with an extensive collection on your Android phone, keeping your library organized can be a challenge. With songs from different albums, artists, and genres all mixed together, it’s easy for your music to become a cluttered mess. Luckily, there are several ways you can tidy up your tunes on Android. Follow these steps to get your music library in perfect harmony.
Step 1: Use a Dedicated Music Player App
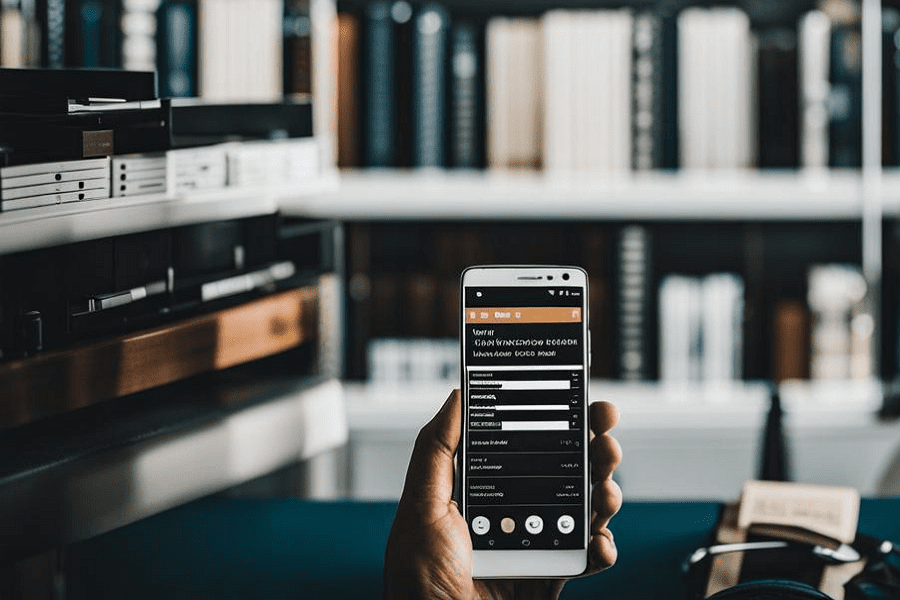
While the default music player on Android is serviceable, there are many more full-featured options available. Apps like Poweramp, Musicolet, and Pulsar provide advanced library management tools to keep your collection organized. Look for a player with the ability to edit tags, create playlists, sort by different criteria, and browse by folder structure. A good music player app is the foundation for an organized library.
Step 2: Properly Tag Your Music Files
One of the most important aspects of music library organization is having your audio files tagged correctly with metadata like artist, album, genre, and track number. Properly tagged files allow you to easily sort and filter your library. Most music player apps on Android have built-in tag editors to fill in missing information or correct errors. Take some time to go through your files and ensure the tags are accurate and complete.
Step 3: Create Playlists for Different Moods and Occasions
Playlists are a great way to group songs around a certain theme, whether it’s a genre, artist, or just a particular vibe. Creating playlists makes it easy to quickly find the perfect music for any setting. Make a Workout Mix for the gym, a Chill Beats playlist for relaxing, or group together your favorite tracks from a certain decade. Organize your playlists in folders by category or activity.
Step 4: Use Folders to Organize by Artist and Album
If you prefer to browse your music by artist and album, using a folder structure is the way to go. Organize your files into folders for each artist, with subfolders for individual albums. Many Android music players can read your folder hierarchy and display it as a library tree. This is also a good way to store your music files on an SD card. A music folder with artist and album subfolders will keep your collection tidy.
Step 5: Take Advantage of Smart Playlists
Some advanced music apps on Android support smart playlists, which are automatically populated based on criteria you set. For example, you could make a smart playlist that includes all songs from a certain genre that you’ve added in the past month and have a 4-star rating or above. Smart playlists are a convenient way to instantly group songs without having to update them manually.
Step 6: Sync Your Collection to the Cloud
To keep your music library consistent across devices, consider using a cloud service like Google Play Music. Uploading your files to the cloud allows you to access your collection from your phone, tablet, or computer. Changes made on one device will sync to the others. Using the cloud also provides a backup in case you lose your local files.
Step 7: Regularly Prune and Organize Your Library
Keeping your music collection tidy requires regular maintenance. Set aside time every few weeks or months to clean up your library. Delete duplicate files, fix incorrect tags, remove songs you no longer listen to, and update your playlists. Staying on top of organization will prevent your library from descending into chaos.
Conclusion
Having an organized music library on your Android phone makes it easy and enjoyable to browse and listen to your favorite tunes. By using a good music player app, properly tagging your files, sorting with playlists and folders, and regularly maintaining your collection, you’ll have a clean and functional library that’s a pleasure to peruse. With your music neatly sorted and at your fingertips, you can spend less time searching and more time jamming out.