Have you ever looked at an old photo and wished it could just… move? 📸 That feeling is super real, and honestly, I’ve been there too. Whether it’s a childhood memory, a travel shot, or even just a photo of your cat, there’s something special about seeing a still image come to life. The good news is, you don’t need to be a video editor or animator to make that happen.
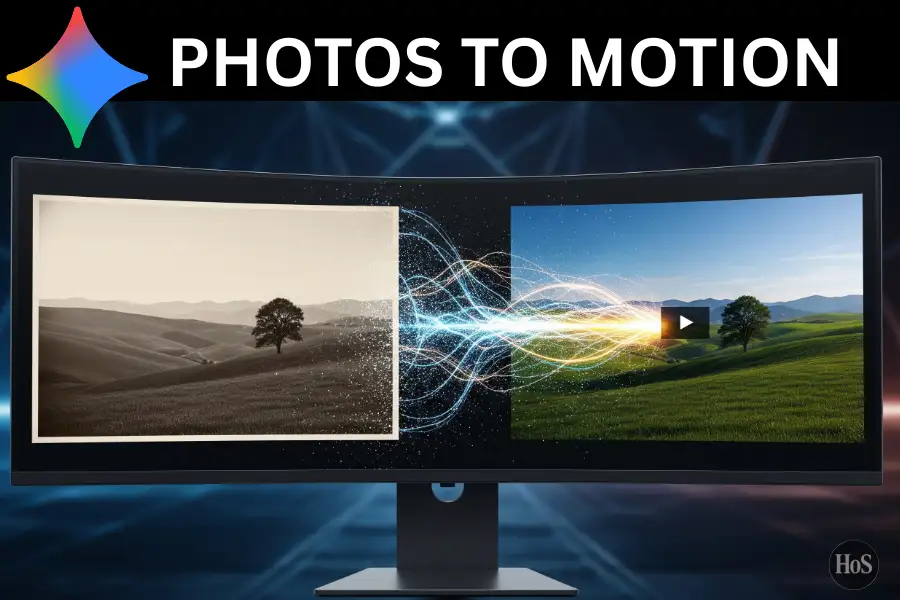
Google’s Gemini AI now lets you turn any photo into an 8-second video clip with sound, all powered by Veo 3, Google’s latest video generation model. 🎬 The feature is built right into the Gemini app, so no extra software, no complicated timelines, and no steep learning curve. You just upload a photo, type a prompt, and watch the magic happen.
In this post, I’ll walk you through everything you need to know to get started, including what subscription you need, the exact steps to create your first animated photo video, and some tips on writing better prompts so your results actually look good. Let’s get into it. 💡
What You Need Before You Start Animating Photos in Gemini
The photo-to-video feature in Gemini runs on Veo 3, which is only available to paying subscribers. You’ll need either a Google AI Pro plan or a Google AI Ultra plan to access it. Pro subscribers can generate up to 3 videos per day, while Ultra subscribers get up to 5 videos per day. If you’re not subscribed yet, you can sign up at gemini.google.com and pick a plan that fits your needs. 💳
Beyond the subscription, photo quality really does matter here. Gemini uses your uploaded image as the first frame of the video, so the clearer and closer your subject is, the better the model can build on it. A blurry, crowded, or low-resolution photo will likely give you messy results. Stick to well-lit, high-resolution images where the main subject is easy to identify. The closer your subject fills the frame, the more control you’ll have over the final video output. 📷
It also helps to know that Gemini generates all videos in a 16:9 landscape format. If your photo has a different aspect ratio, the model will pad it with black borders to fill the frame. All generated videos come with a visible watermark and an invisible SynthID digital watermark to show they are AI-generated, so don’t expect to strip those out.
How to Turn Your Photos into Videos Using Gemini AI Step by Step
Here’s the full process to animate your first photo using Gemini. ✅
- Go to gemini.google.com and sign in to your Google account with an active AI Pro or Ultra subscription.
- Click the “Tools” button in the prompt box at the bottom of the screen.
- Select “Create video” from the tool menu that pops up.
- Click the photo upload icon to attach the image you want to animate.
- Choose a clear, high-resolution photo where the main subject is visible and close to the camera.
- Type a descriptive prompt in the text field explaining what you want to happen in the video.
- Include audio details in your prompt like background music, sound effects, ambient noise, or spoken dialogue if you want your video to have sound. 🎧
- Hit the Send button and wait for Gemini to generate your 8-second video clip.
- Review the result and if it’s not quite right, tweak your prompt and try again.
- Once you’re happy with the output, tap the Share button or download the video to save it to your device. 🎉
How to Write Better Prompts for Higher Quality Animated Videos
The biggest thing I’ve noticed is that vague prompts give vague results. If you just type “make this photo move,” Gemini will make something, but it probably won’t be what you had in mind. The more specific you are about the motion, the camera angle, the mood, and the audio, the closer the final video gets to what you’re actually picturing. 🎯
For example, instead of “animate this photo,” try something like “a cinematic wide shot of this person walking slowly through a foggy forest, leaves falling gently, soft ambient wind sounds in the background.” That kind of prompt gives the model real direction. You can also add characters to the scene, sequence actions, and even include dialogue by describing what a person should say in the video. The prompt is basically your script, so treat it that way.
One pro tip: start simple, then build up. 🛠️ Your first attempt might not be perfect, and that’s fine because Veo 3 is still learning and improving. Try a basic prompt first to see how the model handles your photo, then add more detail in your next attempt. Three to five attempts with progressively better prompts is usually enough to get something you’ll actually want to share.
Conclusion
Animating photos with Gemini AI is one of those features that genuinely feels like it shouldn’t be this easy. 😄 You pick a photo, write a prompt, and within minutes you’ve got an 8-second video that would’ve taken a professional hours to produce before.
If you’re just starting out, don’t stress too much about getting the perfect prompt on your first try. Play around with it, see what works, and have fun with the process. The more you experiment, the better your results will get. 🚀
FAQs
Is Gemini’s photo-to-video feature free to use?
No, it’s only available to Google AI Pro and Ultra subscribers. There’s no free tier for Veo 3 access inside Gemini right now.
How long are the videos that Gemini generates from photos?
All generated videos are 8 seconds long. You can’t currently adjust the video length inside the standard Gemini app.
Can I remove the watermark from the AI-generated video?
No, all videos come with a visible watermark and an invisible SynthID digital watermark to show they are AI-generated. You cannot remove them.
What kind of photos work best for this feature?
High-resolution, well-lit photos where the subject is close to the camera and easy to identify work best. Blurry or cluttered images tend to produce lower-quality results.
How many videos can I generate per day with Gemini?
Google AI Pro subscribers get up to 3 videos per day, while Google AI Ultra subscribers get up to 5 videos per day.
Leave a Reply