Ever get stuck trying to explain something on your phone, wishing you could just show it instead? Recording your screen is perfect for making a how-to video, sharing an app walkthrough, or capturing gameplay. Android phones come with built-in screen recorders, and if you use the right steps and settings, your tutorials can look pro without messing with complicated software.
I use screen recording a lot for creating quick guides, especially for friends or social content. The built-in Android tool works for most needs, but there are also reliable third-party apps if you want extra features. With some preparation, you can make sure your video is clear, your audio sounds good, and viewers see the actions you want to show. Ready to find out how it works? Let’s go 🚀
Screen recording isn’t just for techies. If you want to teach someone how to use an app, show a cool trick, or record a bug for support, knowing these steps helps anyone make phone tutorials with minimal fuss. I’ll give you direct instructions and tips so you spend less time figuring things out and more time sharing cool content.
Setting Up Built-in Android Screen Recorder for Tutorials
Most Android phones running Android 11 or higher come with screen recording built into the Quick Settings panel. You can just swipe down and tap, but there are some tweaks you should do before hitting record. Check for options like showing touches, adjusting audio sources, and picking the right resolution so your tutorial looks sharp.
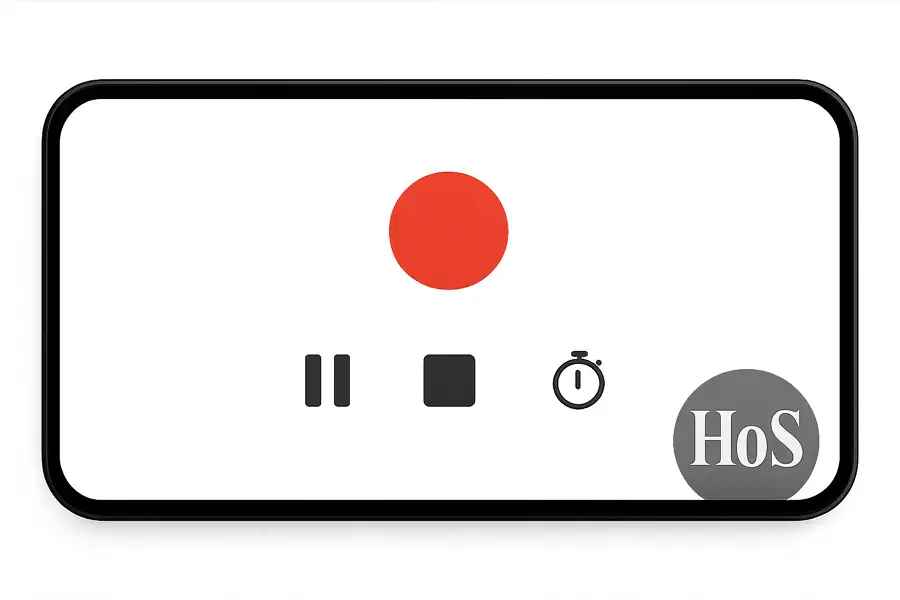
Start by swiping down twice from the top of your screen. Look for the Screen Record icon (it usually looks like a circle inside a rectangle). If it’s not there, tap the edit icon or pencil and drag Screen Record into your Quick Settings. Tap the icon, and you’ll get a menu to pick audio options (mic, internal sound, or both) and whether to show touches. Don’t forget to set the right resolution for your video. Hit Start, and after a countdown, you’re ready to record your tutorial. You can stop by swiping down and tapping the notification.
Recording with the built-in tool saves time, doesn’t drain your phone, and works for most apps. It’s easy to trim or share these videos right from your phone gallery, so making tutorial content takes just a few minutes.
Step-by-Step to Recording Your Screen Tutorial
- Swipe down twice to open Quick Settings.
- Find the Screen Record icon and tap it.
- Adjust settings for audio (mic or internal).
- Choose if you want to show touches.
- Set the video resolution and frame rate.
- Make sure Do Not Disturb is on to avoid interruptions.
- Clear background apps to prevent lag.
- Pick the app or screen you want to record.
- Tap Start and wait for the countdown.
- Finish by swiping down and tapping Stop.
Tips for Better Tutorial Videos with Android Screen Recorder
Always record in landscape mode for tutorials. This fits most screens and looks clean when sharing online or watching on bigger devices. Pick a quiet space and use a microphone if you want your voice in the video. Test your audio first to avoid muffled or echo-y sound. Enable touches so viewers follow your actions easily. Recording in short segments helps cut mistakes and keep the final video organized.
If your phone’s built-in recorder doesn’t have enough options, apps like AZ Screen Recorder or Google Play Games can add features like timer, pointer, or internal sound capture. Edit videos with simple apps for trimming, captions, or cropping before sending out.
Keep your tutorial short, clear, and on topic. A fast intro, step-by-step actions, and useful narration help viewers learn without getting bored. I avoid cluttered backgrounds and turn off notifications for less distraction. Editing afterward polishes up mistakes, and you can even add text overlays for extra tips.
Conclusion
I love creating tutorials with Android’s screen recorder because it’s quick, friendly, and always in my pocket. Whether you want to record a quick tip or show a full walkthrough, these steps set you up for smooth recordings. Screen recording gives you a way to teach, share, and troubleshoot with almost no setup.
Next time you need to show your screen, you don’t need fancy gear or paid apps. Follow these steps, use the right settings, and your Android has you covered. Your tutorials can shine and help others, all straight from your phone. 👍
FAQs
How do I add Screen Recorder to Quick Settings?
Open Quick Settings, tap the edit icon, and drag the Screen Record button where you want it.
Can I record voice and internal audio at once?
Most Androids let you pick mic, internal sound, or both before you record.
My recordings are laggy, what should I do?
Close extra apps and enable Do Not Disturb for smoother videos.
Where are my screen recordings saved?
The videos are usually in the Movies folder or your gallery under Screen Recordings or Screen Recorder.
What’s a good app if my phone doesn’t have a built-in recorder?
Check out AZ Screen Recorder for extra features and simple editing tools.
Leave a Reply