If you rely on your Android smartphone for navigation or location-based services, a strong GPS signal is crucial for accurate performance. Weak GPS signals can lead to slow location fixes, inaccurate positioning, or even complete loss of GPS functionality. In this article, we’ll guide you through the steps to check your Android device’s GPS signal strength and provide tips to improve it.
Understanding GPS Signal Strength
GPS signal strength is measured in decibels (dB) and is represented by the signal-to-noise ratio (SNR). The higher the SNR value, the stronger and more reliable the GPS signal. Generally, an SNR value above 20 dB indicates a good signal, while values below 10 dB suggest a weak signal that may cause issues with location accuracy.
Step 1: Enable High Accuracy Mode
To ensure your device is utilizing all available location services for the best possible GPS performance:
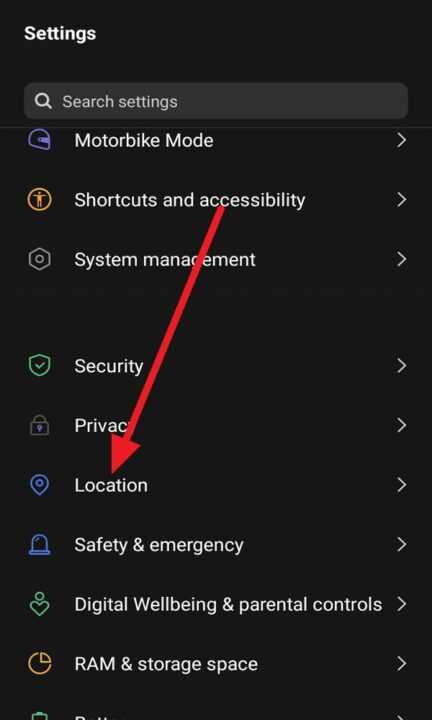
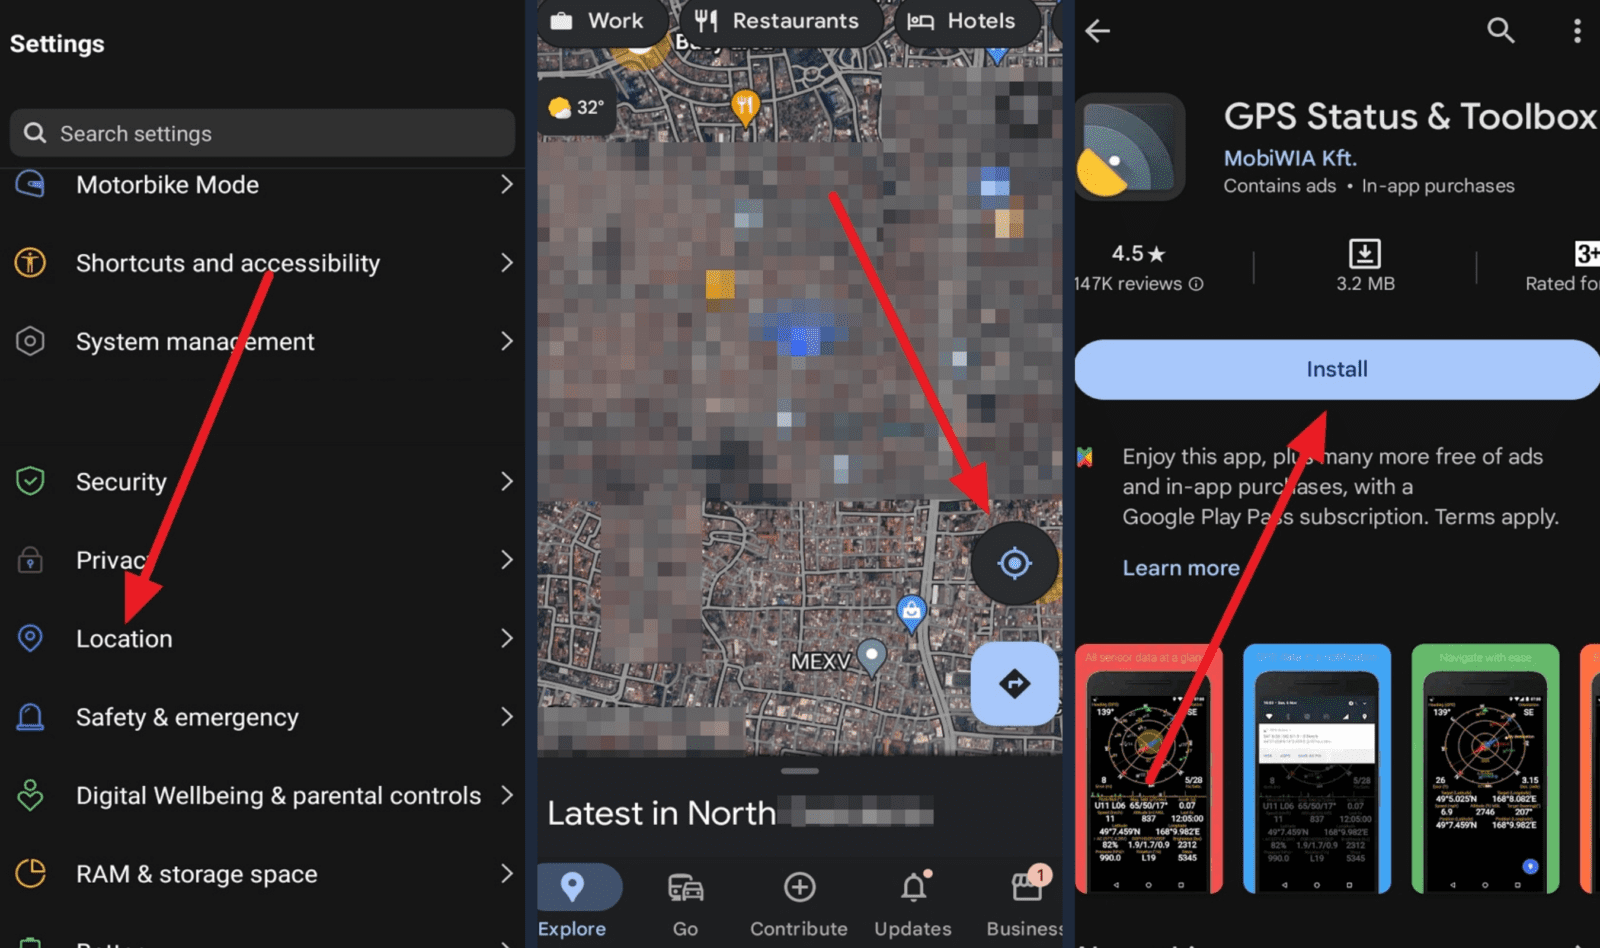
- Open the Settings app on your Android device
- Tap on Location
- Select High Accuracy mode
High Accuracy mode combines GPS, Wi-Fi, and mobile networks to determine your location more precisely.
Step 2: Check GPS Status Using Built-in Tools
Most Android devices have built-in GPS status tools that provide information about satellite signal strength and accuracy. Here’s how to access them:
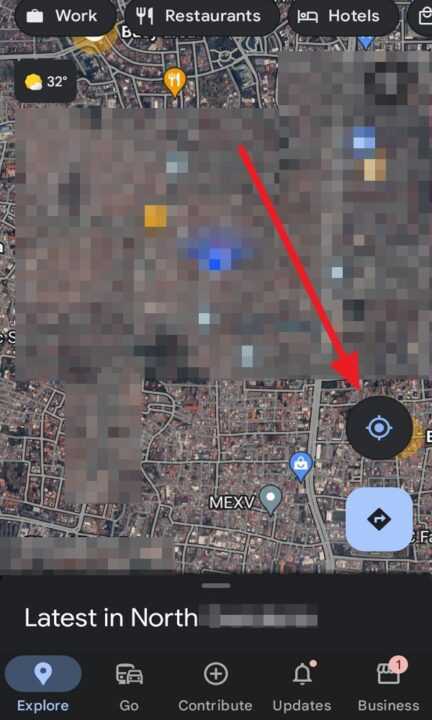
- Open the Google Maps app
- Tap on the blue dot representing your location
- In the menu that appears, tap on Calibrate with Live View
- Follow the on-screen instructions to calibrate your compass and improve location accuracy
Alternatively, you can use the GPS Test tool hidden within Android’s developer options:
- Go to Settings > About phone
- Tap on Build number seven times to enable Developer options
- Return to the main Settings menu and select Developer options
- Scroll down and tap on GPS Test
- The GPS Test screen will display information about visible satellites, their signal strength, and estimated accuracy
Step 3: Use Third-Party Apps for Detailed GPS Information
For more comprehensive GPS signal information and troubleshooting tools, consider using third-party apps like GPS Status & Toolbox or GPSTest. These apps provide detailed data about satellite signal strength, position accuracy, and can even help you clear and refresh GPS data for better performance.
To use these apps:
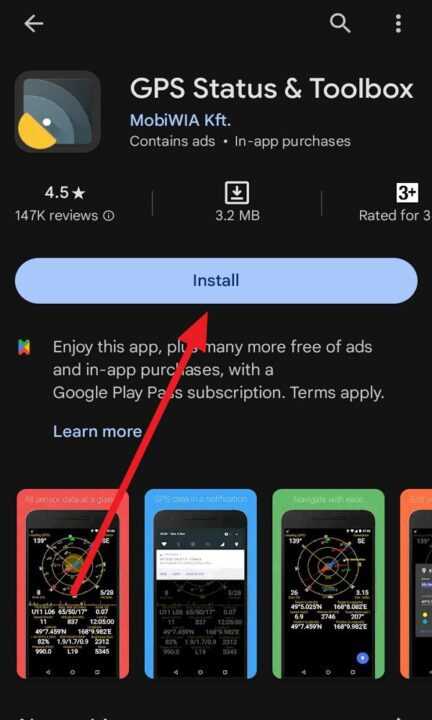
- Download and install GPS Status & Toolbox or GPSTest from the Google Play Store
- Open the app and grant it location permissions
- The app will display real-time information about GPS satellite signals, SNR values, and estimated accuracy
- Use the app’s tools to clear AGPS data, reset GPS settings, or download fresh AGPS data for faster location locks
Step 4: Ensure Clear Line of Sight to the Sky
GPS signals can be weakened or blocked by obstacles like buildings, trees, or even thick cloud cover. For the best possible GPS performance:
- Use your device outdoors with a clear view of the sky
- Avoid using GPS in dense urban areas or under heavy foliage
- Give your device a few minutes to acquire a strong GPS lock before starting navigation or tracking activities
Step 5: Keep Your Android Device and Apps Updated
Regularly updating your Android device’s operating system and location-based apps can help improve GPS performance and fix known issues. To check for updates:
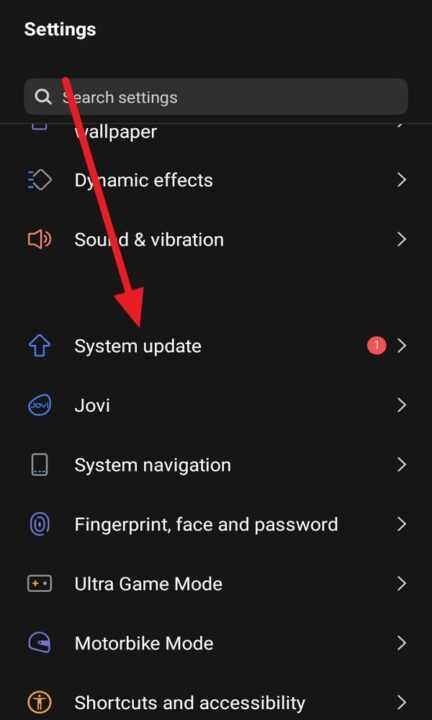
- Go to Settings > System > System Update to check for available Android updates
- Open the Google Play Store app and tap on My apps & games to update your installed apps
Conclusion
A strong GPS signal is essential for accurate location services on your Android device. By following the steps outlined in this article, you can easily check your device’s GPS signal strength, troubleshoot any issues, and ensure optimal performance. Remember to enable High Accuracy mode, use GPS status tools and apps, ensure a clear line of sight to the sky, and keep your device and apps updated for the best possible GPS experience.
If you continue to experience GPS issues after trying these steps, consider contacting your device manufacturer or a professional for further assistance.
Leave a Reply