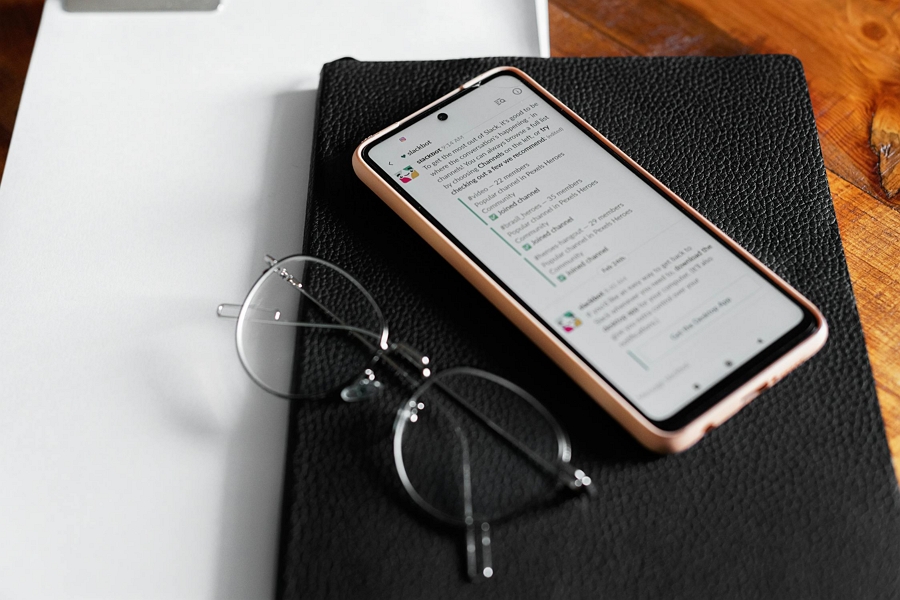
Android devices use notifications to keep users informed about various events, such as incoming messages, app updates, and system alerts. However, sometimes these notifications can malfunction and remain stuck on your screen, even when they’re no longer relevant. The “Message not sent” notification is a common example of this issue, which can occur due to various reasons, such as temporary network problems, app glitches, or cache-related issues.
Method 1: Force Stop the Messaging App
One of the simplest ways to get rid of the “Message not sent” notification is to force stop the messaging app. Here’s how:
- Go to your device’s Settings menu.
- Tap on Apps & notifications or Application Manager.
- Find and tap on your messaging app (e.g., Messages, WhatsApp, etc.).
- Tap on Force Stop and confirm the action.
This method will close the app and clear any stuck notifications. However, keep in mind that force stopping an app may cause you to lose unsaved data within the app.
Method 2: Clear App Cache and Data
If force stopping the app doesn’t work, try clearing the app’s cache and data. This can help resolve issues caused by corrupted cache files or data. Here’s how:
- Go to your device’s Settings menu.
- Tap on Apps & notifications or Application Manager.
- Find and tap on your messaging app.
- Tap on Storage.
- Tap on Clear Cache and then Clear Data.
Note that clearing an app’s data will erase all app-related information, such as login credentials, preferences, and saved files. Make sure to back up any important data before proceeding.
Method 3: Update the Messaging App
Sometimes, the “Message not sent” notification issue can be caused by an outdated app version. App developers regularly release updates to fix bugs and improve performance. To update your messaging app:
- Open the Google Play Store on your Android device.
- Tap on the three-line menu icon and select My apps & games.
- Find your messaging app in the list of available updates.
- Tap on Update next to the app.
Once the update is complete, the notification issue may be resolved.
Method 4: Restart Your Android Device
If none of the above methods work, try restarting your Android device. This simple action can often fix various issues, including stuck notifications. To restart your device:
- Press and hold the Power button until the power menu appears.
- Tap on Restart or Power off and then turn your device back on.
After the restart, check if the “Message not sent” notification has disappeared.
Method 5: Reset App Preferences
In some cases, resetting app preferences can help resolve notification-related issues. This action will reset all app preferences to their default settings without deleting any app data. Here’s how:
- Go to your device’s Settings menu.
- Tap on Apps & notifications or Application Manager.
- Tap on the three-dot menu in the top-right corner.
- Select Reset app preferences and confirm the action.
Keep in mind that this will reset all app preferences, including disabled apps, notification restrictions, and default app settings.
Method 6: Factory Reset Your Android Device
If all else fails, you may need to perform a factory reset on your Android device. This action will erase all data on your device, including apps, settings, and personal files. Make sure to back up your important data before proceeding. To factory reset your device:
- Go to your device’s Settings menu.
- Tap on System > Reset options.
- Tap on Erase all data (factory reset) and confirm the action.
After the reset, set up your device as new and check if the notification issue has been resolved.
Conclusion
Dealing with a persistent “Message not sent” notification on your Android device can be frustrating, but there are several methods you can try to fix the issue. Start with the simplest solutions, such as force stopping the app or clearing its cache and data. If those don’t work, try updating the app, restarting your device, or resetting app preferences. As a last resort, you may need to perform a factory reset on your Android device.
Remember to always keep your apps and device software up to date to minimize the chances of encountering such issues in the future. If the problem persists after trying these methods, consider reaching out to the app developer or your device manufacturer for further assistance.

Leave a Reply