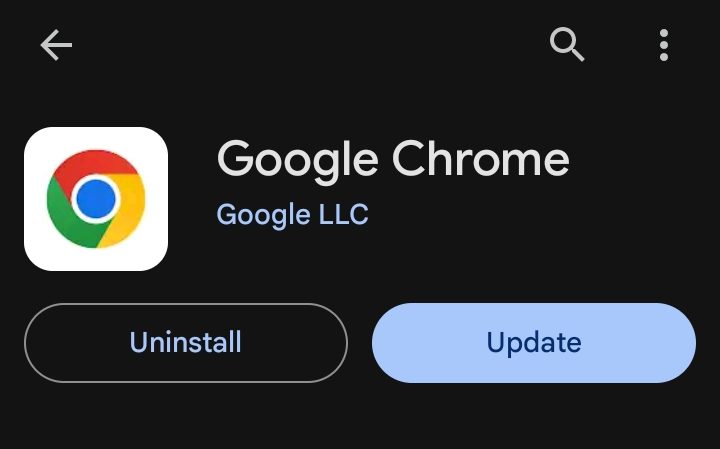
Google Chrome is the most popular web browser, used by millions on their Android smartphones and tablets. One of the convenient features of Chrome is the ability to quickly access your most frequently visited websites right from the new tab page. This saves you time from having to type in URLs or dig through your bookmarks.
However, in recent updates to Chrome for Android, Google made some changes to how the most visited sites are displayed on the new tab page. Search results and queries now appear alongside your frequently visited sites, which many users have found annoying and cluttered. Fortunately, there are a few simple steps you can take to customize the new tab page in Chrome for Android to show just your most visited sites.
In this article, we’ll walk through the process of enabling most visited sites in Chrome for Android and how to manage what appears on your new tab page. Whether you’re a power user or just prefer a clean, uncluttered browser experience, follow along to set up Chrome just the way you like it.
Step 1: Update Google Chrome
First, make sure you have the latest version of Google Chrome installed on your Android device. Here’s how:
- Open the Google Play Store app
- Tap the menu icon and select My apps & games
- Find Chrome in the list of apps and tap Update if an update is available
- Once updated, open Chrome
Having the most recent version ensures you have access to all the latest features and options for customizing your browsing experience.
Step 2: Enable Most Visited Sites
By default, Chrome’s new tab page may show a mix of your most visited sites along with your recent searches. To make sure your most visited sites are enabled:
- Open a new tab in Chrome
- Tap the three-dot menu icon in the top-right corner
- Tap Settings
- Under Advanced, tap Homepage
- Make sure Show most visited sites is toggled on
Now, your most frequently visited sites should appear on the new tab page for quick access. However, you may still see some recent searches mixed in, so the next step will help declutter those.
Step 3: Disable Organic Repeatable Queries
To remove recent search queries and results from your most visited sites on the new tab page, you’ll need to disable a Chrome flag:
- In Chrome’s address bar, type
chrome://flagsand tap enter - In the search bar at the top of the flags page, type Organic repeatable queries
- You should see a flag titled Organic repeatable queries in Most Visited tiles
- Tap the drop-down menu and select Disabled
- Tap Relaunch at the bottom of the screen to restart Chrome for the change to take effect
With this flag disabled, your recent searches will no longer appear on the new tab page, leaving only your most visited sites for a cleaner look and easier access.
Step 4: Remove Individual Most Visited Sites
If there are specific sites you don’t want to appear in your most visited section, you can easily remove them:
- On the new tab page, find the site you want to remove
- Long-press the site’s tile
- In the menu that appears, tap Remove
The site will be removed from your most visited list. If you change your mind later, you can always visit that site more frequently and Chrome will eventually add it back based on your browsing habits.
Step 5: Add Sites to Chrome’s Bookmarks (Optional)
In addition to relying on Chrome’s automatic most visited sites, you can also manually bookmark your favorite sites for easy access:
- Navigate to the site you want to bookmark
- Tap the three-dot menu icon in the top-right corner
- Tap the star icon to add a bookmark
- Edit the bookmark name and choose a folder if desired, then tap Save
To access your bookmarks:
- Tap the three-dot menu icon in Chrome
- Tap Bookmarks
- Tap the bookmark you want to open
Using bookmarks in combination with most visited sites gives you the most control and quickest access to all your favorite corners of the web.
Conclusion
Chrome’s most visited sites feature on the new tab page is a convenient way to quickly access your frequently visited pages without having to type in URLs or search through bookmarks. By following the steps outlined above, you can ensure your most visited sites are enabled, declutter recent searches, and even manually add bookmarks for your favorite sites.
While Google occasionally makes changes to Chrome that can disrupt our preferred browsing experience, in most cases there are settings, flags, or workarounds we can use to customize things to our liking. Don’t be afraid to explore Chrome’s options and tinker with flags to find the setup that works best for you.
With your most visited sites now just a tap away on each new tab, you can browse faster and more efficiently. Go forth and surf the web your way!

Leave a Reply