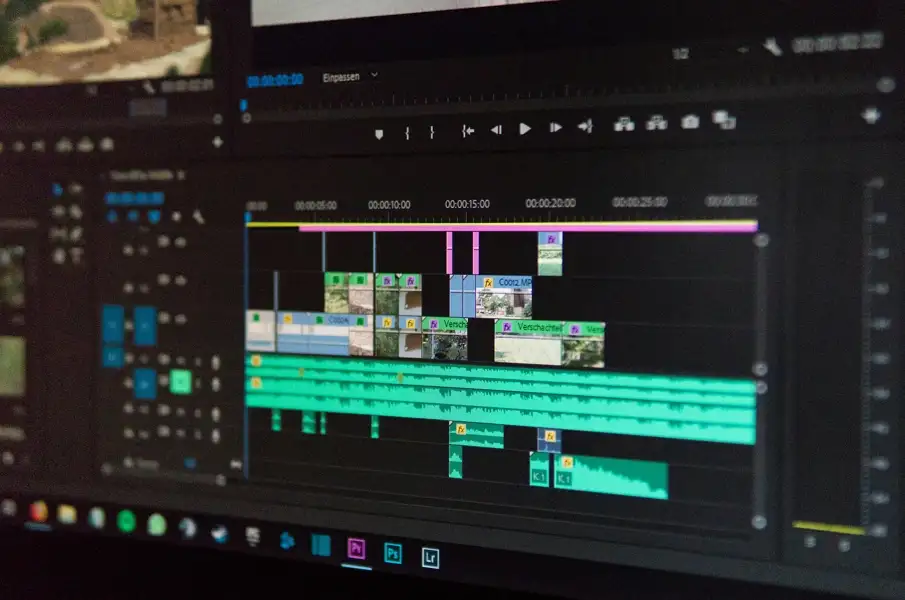
Converting a Canva video into a presentation is a versatile way to repurpose your content for different audiences and platforms. Whether you’re a student, educator, or business professional, being able to transform your multimedia content into engaging presentations can enhance your communication and storytelling skills. In this article, we’ll explore the steps and tools you can use to convert your Canva video into a presentation online for free.
Introduction to Canva and Presentation Conversion
Canva is a powerful graphic design platform that allows users to create stunning presentations, videos, and other visual content without needing extensive design experience. It offers a wide range of templates, fonts, and design elements that make it easy to craft professional-looking materials. However, sometimes you might need to convert your Canva video into a presentation format, such as PowerPoint or Google Slides, to better suit your needs or the requirements of your audience.
Why Convert Canva Videos to Presentations?
Converting a video into a presentation can be beneficial for several reasons:
- Flexibility: Presentations can be easily edited and customized for different audiences or purposes.
- Interactivity: Presentations allow for live interaction, such as Q&A sessions or real-time feedback.
- Accessibility: Presentations can be shared in various formats, making them accessible across different devices and platforms.
Steps to Convert Canva Video to Presentation
While Canva doesn’t directly support converting videos into presentations, you can achieve this by breaking down the process into manageable steps. Here’s how you can do it:
Step 1: Extract Slides from Your Canva Video
If your Canva video is based on a slideshow, you can start by extracting the individual slides. Here’s how:
- Open Canva: Go to your Canva dashboard and open the presentation or video project you want to convert.
- Export as Images: Download each slide as an image file (e.g., PNG or JPEG). You can do this by selecting each slide and using the download option.
- Organize Your Slides: Keep your images organized in a folder so they’re easy to access later.
Step 2: Create a New Presentation
Now, let’s create a new presentation using your extracted slides:
- Choose a Platform: Decide whether you want to use PowerPoint, Google Slides, or another presentation software.
- Create a New Presentation: Open your chosen platform and create a new presentation.
- Insert Your Slides: Import the images you downloaded earlier into your presentation. You can do this by inserting each image onto a new slide.
Step 3: Add Text and Design Elements
Enhance your presentation by adding text and design elements:
- Add Text: Use the text tool to add captions, titles, or descriptions to each slide.
- Customize Design: Use the design tools available in your presentation software to customize fonts, colors, and layouts.
Step 4: Add Audio or Voiceover (Optional)
If you want to include audio or a voiceover in your presentation, you can record it separately and add it to your slides:
- Record Audio: Use a voice recorder or audio software to record your voiceover.
- Insert Audio: Add the recorded audio to your presentation slides.
Tools for Converting Canva Videos to Presentations
While there isn’t a direct tool for converting Canva videos into presentations, you can use various software and platforms to achieve your goal:
- Canva’s Video Feature: Canva allows you to create videos from your presentations, but not the other way around. However, you can use this feature to create a video and then extract slides as described above.
- PowerPoint and Google Slides: These platforms are ideal for creating and editing presentations. You can import your slides and customize them as needed.
- Third-Party Tools: There are several third-party tools and plugins available that can help with converting and editing presentations, though they might not directly support video-to-presentation conversion.
Tips for a Smooth Conversion
To ensure your conversion process is smooth and effective, consider these tips:
- Check Fonts and Images: Ensure that the fonts and images you use are compatible with your presentation software to avoid formatting issues.
- Keep It Simple: Avoid overly complex designs or animations that might not translate well across platforms.
- Test Your Presentation: Before sharing, test your presentation to ensure everything looks and works as expected.
Conclusion
Converting a Canva video into a presentation requires some creativity and flexibility, but it can be a powerful way to repurpose your content. By following the steps outlined above and using the right tools, you can create engaging presentations that resonate with your audience. Whether you’re presenting in a classroom, boardroom, or online, having the ability to adapt your content can make all the difference.
FAQs
How Do I Export a Canva Presentation as a PowerPoint File?
To export a Canva presentation as a PowerPoint file, go to the “Share” option, select “More,” and choose the PowerPoint format. You can then download your presentation as a PPTX file.
Can I Convert a Canva Video Directly into a Presentation?
Currently, there is no direct method to convert a Canva video into a presentation. However, you can extract slides from your video and create a presentation using those slides.
What Are Some Common Issues When Converting Canva Designs to Presentations?
Common issues include formatting problems, missing fonts, and potential loss of image quality. Always check your presentation after conversion to ensure everything looks as intended.

Leave a Reply