 AI Apps
 June 10, 2026
Using Gemini as a personal digital assistant can feel confusing at first, especially if you are used to the old Google Assistant vibe. You open the app, type
Read More →
 AI Apps
 May 23, 2026
So you want to start chatting with Gemini AI on your phone or laptop but everything online feels a bit confusing or full of tech jargon 😅 You are not alone,
Read More →
 AI Apps
 May 21, 2026
So you want to make your own music with Gemini AI but you are not a music producer or a DAW nerd at all? Same here, and that is exactly why this feature is so
Read More →
 AI Apps
 May 20, 2026
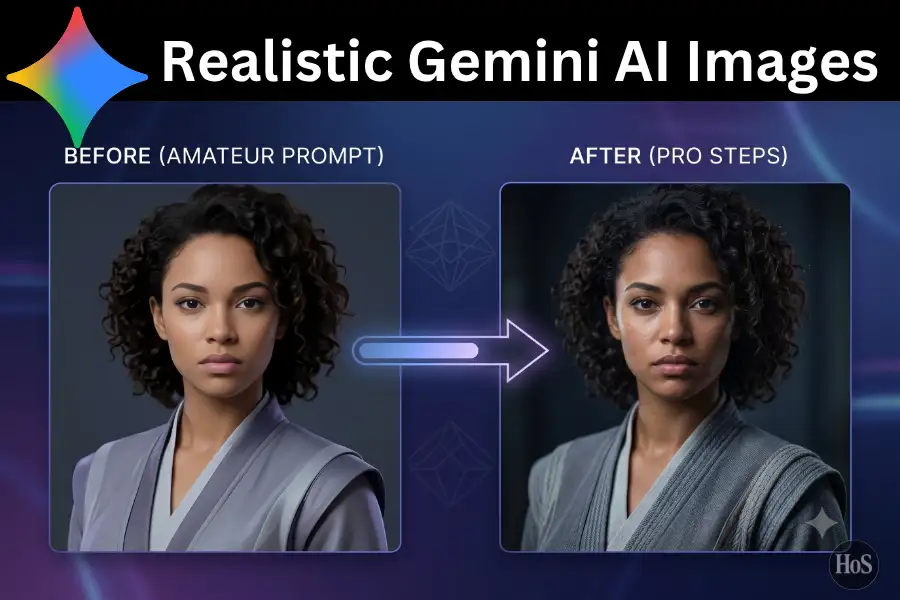
Creating realistic images with Gemini AI sounds easy in theory, but in practice your results can jump from stunning to super weird really fast 😅 If you just
Read More →
 Communication Apps
 March 29, 2026
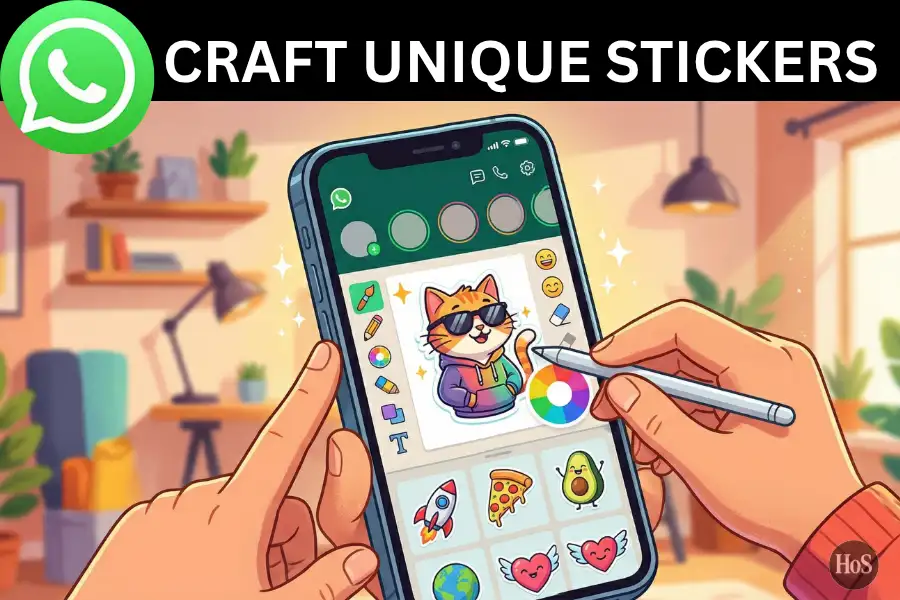
Sending the same sticker packs over and over gets old real fast. 😅 If you've been using the default sticker packs that come with WhatsApp, you're missing out
Read More →
 PROMPT
 March 26, 2026
Urban street style portraits capture that raw, real-city energy you see in fashion editorials and photo feeds. The right mix of lighting, outfit, and city
Read More →
 AI Apps
 March 25, 2026
If you woke up one day and your Google Assistant was just... gone, replaced by Google Gemini without you asking for it, you're not alone. Google quietly
Read More →
 Communication Apps
 March 24, 2026
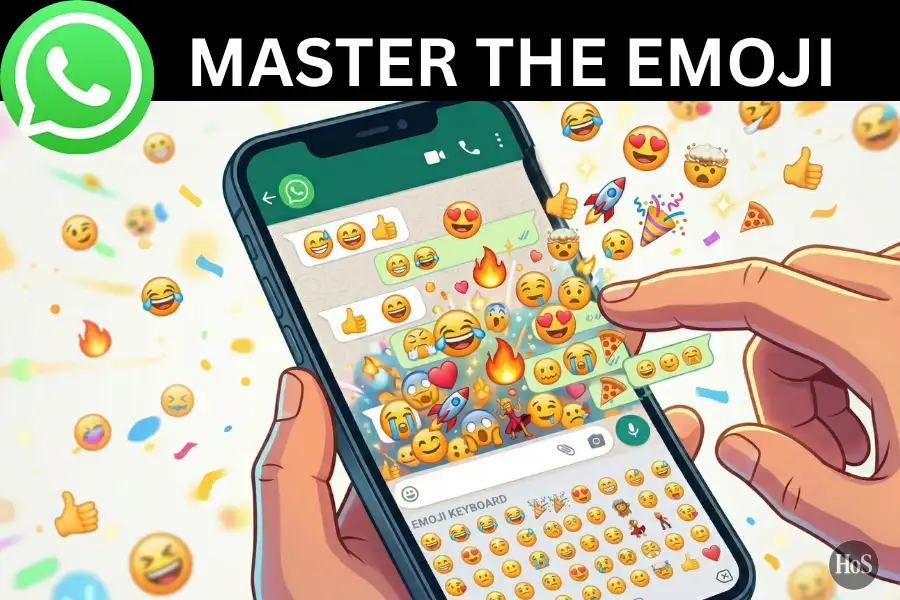
Emojis are basically the body language of texting, and on WhatsApp, they carry a lot of meaning in everyday conversations. 😄 I've seen so many people misuse
Read More →
 PROMPT
 March 23, 2026
I've been testing Gemini AI for portrait creation lately, and the cozy indoor style gives some of the best results I've seen 😍. These prompts are built to
Read More →