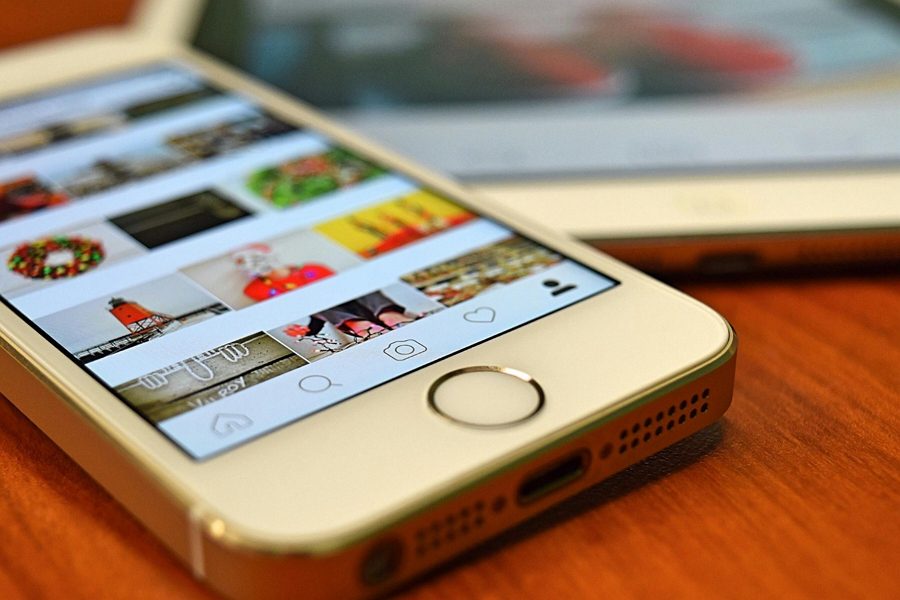
Have you ever posted a photo on Instagram, only to realize later that you used the wrong image or filter? Don’t worry, it happens to the best of us! While Instagram doesn’t allow you to directly replace a photo after posting, there are still ways to fix your post without losing your likes, comments, and engagement. In this article, we’ll walk you through the steps to replace a photo on Instagram after posting, so you can keep your feed looking flawless.
Step 1: Delete the Original Post
The first step to replacing a photo on Instagram is to delete the original post. To do this:
- Go to the post you want to delete
- Tap the three dots in the upper right corner of the post
- Select Delete
- Confirm by tapping Delete again
Keep in mind that deleting a post will also delete any likes, comments, and shares it has received. However, if you act quickly, you can minimize the impact on your engagement.
Step 2: Re-Upload the Corrected Photo
Once you’ve deleted the original post, it’s time to re-upload the corrected photo. To do this:
- Select the photo you want to post from your camera roll
- Crop, filter, and edit the photo as desired
- Write a caption, tag people, and add a location if applicable
- Tap Share to post the photo to your feed
Pro Tip: If you want to keep the same caption and tags as your original post, consider copying them before deleting the post so you can easily paste them into the new one.
Step 3: Engage with Your Followers
After you’ve re-uploaded the corrected photo, it’s important to engage with your followers to let them know about the update. You can do this by:
- Responding to any comments on the original post, letting people know you’ve re-uploaded the photo
- Posting an Instagram Story explaining the situation and directing people to the new post
- Engaging with your followers in the comments of the new post
By being transparent and proactive, you can minimize any confusion and maintain your relationship with your followers.
Step 4: Learn from Your Mistakes
While replacing a photo on Instagram after posting isn’t ideal, it’s important to learn from your mistakes so you can avoid them in the future. Here are a few tips to help you post the right photo the first time:
- Double-check your photo before posting: Take a moment to review your photo for any errors or imperfections before hitting Share.
- Use a scheduling tool: Scheduling your Instagram posts in advance can give you more time to review and make changes before they go live.
- Have a second set of eyes: If possible, have a friend or colleague review your post before publishing to catch any mistakes you might have missed.
By following these tips, you can reduce the likelihood of needing to replace a photo after posting.
Conclusion
Replacing a photo on Instagram after posting may not be a straightforward process, but it is possible with a little bit of effort. By deleting the original post, re-uploading the corrected photo, engaging with your followers, and learning from your mistakes, you can keep your Instagram feed looking its best. Remember, everyone makes mistakes – it’s how you handle them that counts!
So the next time you realize you’ve posted the wrong photo on Instagram, don’t panic. Just follow these steps and you’ll have your post fixed in no time. Happy gramming!

Leave a Reply