If you’re an Android user, you’ve likely needed to use GPS at some point, whether for navigation, tracking your fitness, or finding nearby points of interest. GPS is a powerful tool built into most modern smartphones, but if you’ve never used it before, you may not know how to enable it. In this article, we’ll walk you through the simple steps to turn on GPS on your Android device.
Step 1: Open Your Settings App
The first step is to open the Settings app on your Android phone. You can do this by tapping the gear icon in your app drawer or by swiping down from the top of your screen and tapping the gear icon in the notification shade.
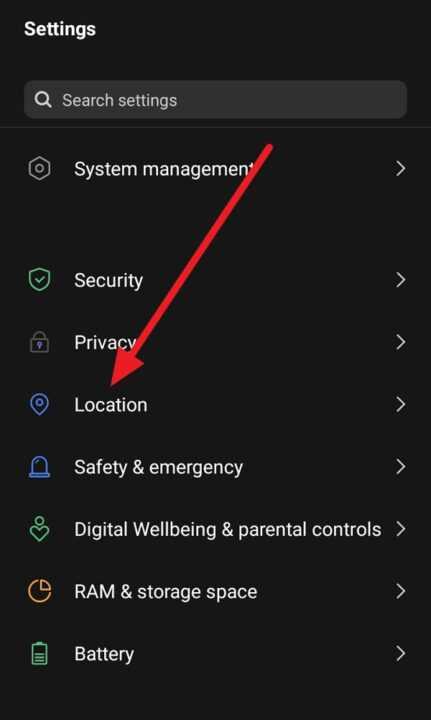
Step 2: Navigate to Location Settings

Once you’re in the Settings app, scroll down until you see Location and tap on it. This will bring you to the location settings for your device. If you see a message asking if you want to turn on location services, tap Yes or Allow to proceed.
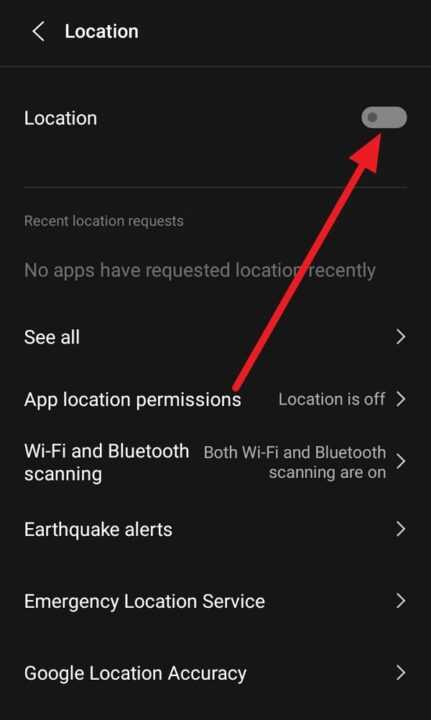
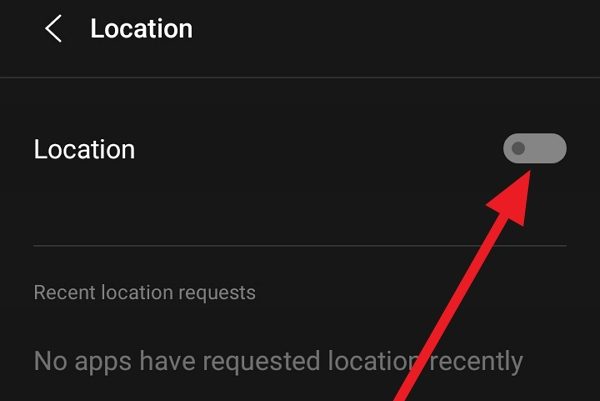
Step 3: Toggle Location On

Next, make sure that the Location toggle at the top of the screen is turned on. If it’s already on, you can skip this step. If it’s off, tap the toggle to turn it on.
Step 4: Choose Your Location Mode
Underneath the Location toggle, you should see the option Mode. Tap on it to access the location mode settings. Here, you can choose between three modes:
- High accuracy: This mode uses GPS, Wi-Fi, and cellular networks to determine your location, providing the most accurate results. However, it also uses the most battery power.
- Battery saving: This mode uses Wi-Fi and cellular networks to determine your location but doesn’t use GPS, which can save a significant amount of battery power.
- Device only: This mode only uses GPS to determine your location, which can be helpful if you’re in an area with poor network coverage.
For most uses, High accuracy is the best option. However, if you’re concerned about battery life, choose Battery saving mode instead.
Step 5: Grant App Permissions
Once you’ve chosen your location mode, you may see a prompt asking for permission to use your location. If so, tap Allow to grant permission. You can also manage location permissions for individual apps:
- Go back to the Location settings screen.
- Tap App permission.
- Here, you’ll see a list of apps that have requested location access. You can tap on each app to choose whether to allow location access all the time, only while the app is in use, or never.
Additional Tips
- To help your phone get a more accurate location, you can enable Wi-Fi and Bluetooth scanning. This allows your device to scan for nearby Wi-Fi access points and Bluetooth devices even when Wi-Fi and Bluetooth are turned off.
- In an emergency, your phone’s location can be automatically sent to first responders when you dial an emergency number like 911. This is done through the Android Emergency Location Service (ELS) if it’s available in your country or region.
Conclusion
Enabling GPS on your Android phone is a straightforward process that can be completed in just a few steps. By accessing your device’s Location settings, toggling the GPS on, and choosing the appropriate mode, you can start using location-based apps and services right away. Remember, you can always adjust your location settings and app permissions to suit your needs and privacy preferences. With GPS enabled, your Android device becomes an even more powerful tool for navigation, tracking, and exploration.

Leave a Reply