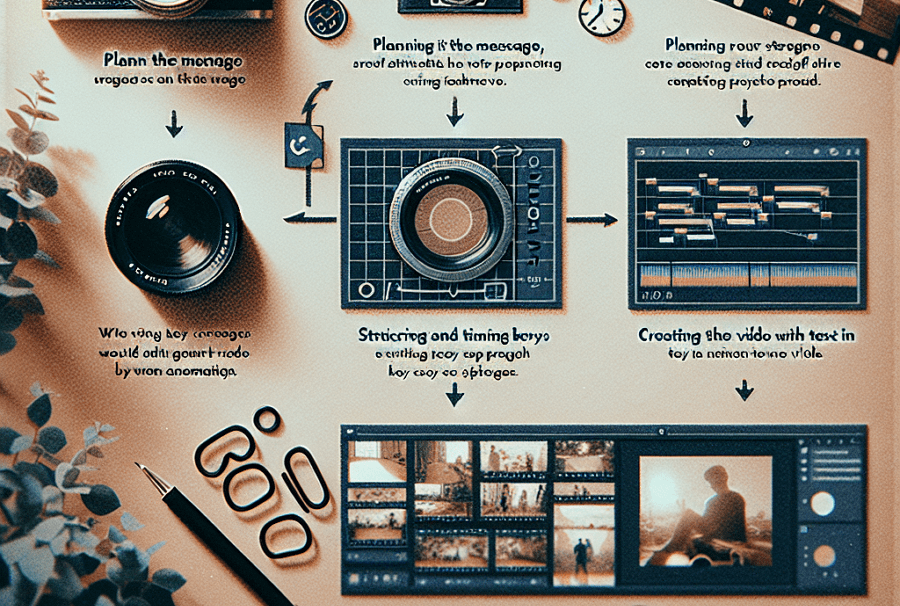
In today’s digital age, creating engaging video content is crucial for capturing your audience’s attention. One powerful tool that has gained popularity among content creators is Canva, a versatile graphic design platform that now offers video editing capabilities. Among its many features, text animation stands out as a simple yet effective way to make your videos more dynamic and visually appealing. In this article, we’ll explore the steps to animate text in Canva video, helping you create professional-looking content with ease.
Introduction
Animated text can breathe life into your videos, making them more engaging and memorable. Whether you’re creating educational content, marketing materials, or social media posts, adding animated text can help emphasize key points and guide your viewers’ attention. Canva’s user-friendly interface makes it accessible even for those without extensive video editing experience.
Before we dive into the specific steps, it’s important to note that planning is crucial. As Judie Russell from The Design Toolkit emphasizes, “Your video will only ever be as good as your plan.” So, grab a pen and paper, and let’s get started with the process of animating text in Canva video.
Step 1: Plan Your Video
Before opening Canva, take some time to brainstorm and outline your video content. Consider the following:
- Message: What’s the main point you want to convey?
- Structure: Break your video into scenes or segments.
- Text: Write out the key phrases or sentences you want to animate.
- Timing: Decide how long each text element should appear on screen.
Remember to keep your text concise. You don’t want viewers struggling to read lengthy paragraphs during the video. Instead, aim for short, impactful phrases that complement your visuals.
Step 2: Set Up Your Canva Project
Now that you have a plan, it’s time to open Canva and start creating:
- Log into your Canva account (or create one if you haven’t already).
- Click on “Create a design” and select “Video” from the options.
- Choose a template or start with a blank canvas, depending on your preferences.
Step 3: Add Your Text
With your project open, it’s time to add the text you want to animate:
- Click on the “Text” option in the left sidebar.
- Choose a text style or click “Add a heading” to use a basic text box.
- Type or paste your text into the box.
- Adjust the font, size, and color to match your video’s style.
Pro tip: For better control over your animations, create separate text boxes for each phrase or sentence you want to animate independently.
Step 4: Apply Text Animation
Now comes the fun part – adding animation to your text:
- Select the text box you want to animate.
- Click on the “Animate” button in the top toolbar.
- Choose from the available animation styles (e.g., Fade, Fly, Pop, Slide).
- Adjust the duration of the animation if needed.
Canva offers various animation styles, so experiment to find the one that best suits your content. Remember, consistency is key – try to stick to one or two animation styles throughout your video for a cohesive look.
Step 5: Fine-tune Your Timing
To create a smooth flow in your video, you’ll need to adjust the timing of your text animations:
- Click on the “Timeline” button at the bottom of the screen.
- Drag the edges of each text element to adjust when it appears and disappears.
- Use the “+” button to add pauses between elements if needed.
For more precise control, you can create separate pages for each text element:
- Duplicate your page.
- On the new page, remove the animation from the previous text and add your next line.
- Animate only the new line of text.
- Repeat this process for each text element.
Step 6: Add Background and Music
To enhance your video further:
- Choose a background image or video that complements your text.
- Add background music by clicking on “Audio” in the left sidebar.
- Adjust the volume and duration of the music to match your video.
Canva offers a library of free and premium music tracks. If you’re on a budget, start with the free options before considering an upgrade to Canva Pro.
Step 7: Preview and Adjust
Before finalizing your video:
- Use the preview function to watch your entire video.
- Pay attention to the timing and flow of your text animations.
- Make any necessary adjustments to ensure smooth transitions.
Don’t be afraid to iterate. Sometimes small tweaks can make a big difference in the overall impact of your video.
Step 8: Export Your Video
Once you’re satisfied with your animated text video:
- Click the “Share” button in the top right corner.
- Select “Download” and choose your preferred video format and quality.
- Wait for Canva to process and download your video.
Conclusion
Animating text in Canva video is a powerful way to create engaging content that captures your audience’s attention. By following these steps and experimenting with different styles and timings, you can produce professional-looking videos that effectively communicate your message.
Remember, the key to success lies in planning, consistency, and practice. Don’t be discouraged if your first attempts aren’t perfect – with each video you create, you’ll become more proficient in using Canva’s text animation features.
As you continue to explore Canva’s capabilities, you’ll discover even more ways to enhance your videos. From adding transitions between scenes to incorporating your own footage, the possibilities are vast. So, start experimenting today and watch your video content come to life with animated text!
Final thoughts: While animated text videos can be highly effective, it’s important to remember that they’re just one tool in your content creation arsenal. As Judie Russell points out, “people love people,” so consider incorporating live-action footage or voiceovers in your future projects for added engagement. With Canva’s versatile platform, you have the flexibility to combine various elements and create truly unique and impactful videos.

Leave a Reply