Google Photos is one of the most popular photo storage and organization apps available today. One of its standout features is the ability to automatically recognize and group faces of people and pets in your photos. This makes it incredibly easy to find photos of specific people later without having to manually tag or sort through your entire library.
However, the face grouping feature doesn’t always catch every photo, especially if the face is partially obscured, at an angle, or the photo is lower quality. Luckily, Google Photos also allows you to manually tag faces and add them to the appropriate face groups. Doing this ensures you can quickly pull up all photos of a particular person, even if some weren’t initially recognized by Google’s algorithms.
In this article, we’ll walk through the simple steps to manually tag faces and add them to face groups in Google Photos on your Android device. By the end, you’ll be a pro at organizing your photo memories of friends and loved ones. Let’s dive in!
Step 1: Enable Face Grouping
Before you can start tagging faces, you first need to make sure the Face Grouping feature is enabled in Google Photos. Here’s how:
- Open the Google Photos app on your Android device
- Tap your profile icon in the upper right corner
- Select Photos settings from the menu
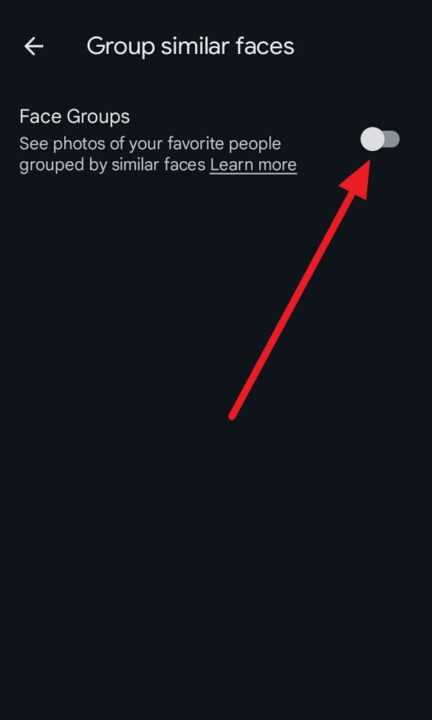
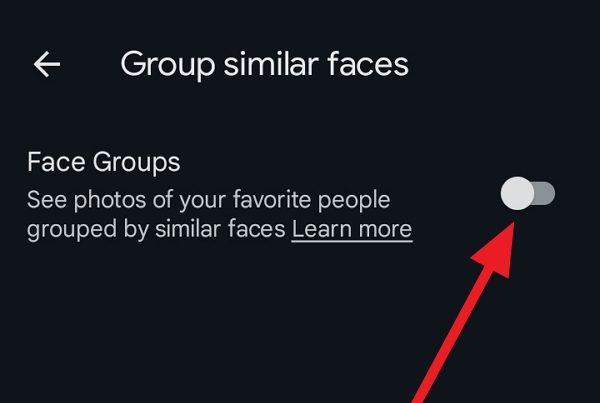
- Tap Group similar faces under the Memories section
- Make sure the toggle for Face Groups is turned on
- Optionally, you can also enable Show pets with people to include your furry friends

Once this is enabled, Google will automatically scan your photo library and start grouping similar faces together. This process may take some time if you have a large number of photos. You can continue using the app in the meantime.
Step 2: View Existing Face Groups
Now that face grouping is enabled, let’s see which people Google has already found in your photos.

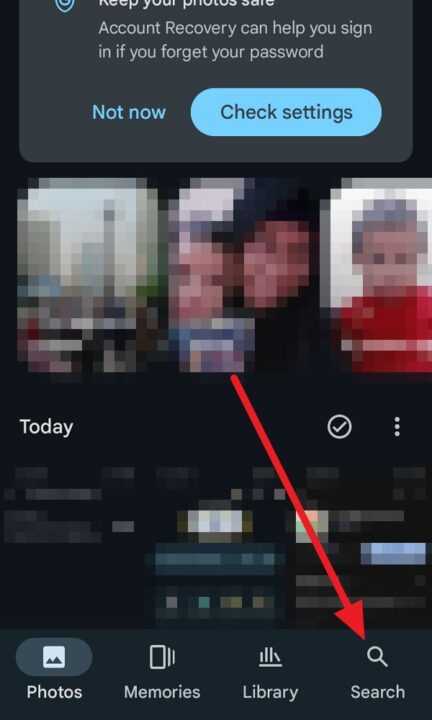
- In the Google Photos app, tap the Search tab at the bottom
- Scroll down to find the People & Pets section
- Here you’ll see face groups Google has already created based on similar looking faces
Tap on a face group to see all photos of that person. If the face group is not yet named, you’ll see a prompt to Add a name at the top. We’ll go over naming face groups in the next step.
Step 3: Name an Existing Face Group
Adding a name to a face group makes it easy to search for photos of that person later. Here’s how to do it:
- Open the face group by tapping on it from the People & Pets section
- Tap the Add a name button at the top
- Type in the person’s name or nickname you want to use
- Tap Done to save the name
Now when you search in Google Photos, you can just type in the person’s name to quickly pull up their face group and all associated photos. Only you can see the names you set, even if you share the photos themselves.
Step 4: Manually Add Faces to Existing Groups
If Google missed a few photos of a person, you can manually add the face to their existing face group. Here’s how:
- Open the photo with the face you want to add
- Tap the Info button (an i in a circle) at the top
- Scroll down to the People section
- Tap Add a name under the face you want to tag
- Select the existing face group you want to add it to (or create a new one)
- Tap Done to confirm
The face will now be included in that group and show up when you search for that person. Repeat this process for any other missing faces.
Step 5: Merge Duplicate Face Groups
In some cases, Google may create two or more face groups for the same person. This usually happens if their appearance changes significantly between photos, like if they start wearing glasses, grow facial hair, or age over a long period of time.
You can merge these duplicate groups into one so all the photos show up together. Here’s how:
- Open one of the duplicate face groups
- Tap the Options menu (three dots) in the upper right
- Select Merge & name from the menu
- Select the other duplicate face groups you want to merge together
- Tap Merge to confirm
All of the face groups will now be combined under the single name. You can repeat this process for any other duplicates you find.
Step 6: Remove Incorrect Faces from a Group
Occasionally, Google may mistakenly add a photo to the wrong face group. This is usually because the person looks similar to someone else or their face is obscured. You can easily remove these incorrect matches:
- Open the photo with the misidentified face
- Tap the Info button at the top
- Find the incorrect face match under the People section
- Tap the X next to their name to remove it from that group
The photo will be removed from the face group but will still remain in your Google Photos library. Repeat this for any other incorrect matches you spot.
Step 7: Hide Face Groups from People View
If there are certain face groups you don’t want showing up in your People view, you can hide them without deleting the photos themselves. This is useful for things like large group photos where you may not know everyone. Here’s how:
- Long press on the face group you want to hide
- Tap the Hide & remove button that appears at the top
- Confirm by tapping Hide in the pop-up window
The face group will now be hidden from the People section. You can still find the photos by scrolling through your library or searching for other items in the image. To unhide a face group, tap the View hidden faces button at the bottom of the People section.
Conclusion
Google Photos’ face grouping feature is a powerful tool for organizing your photo library and quickly finding pictures of the people you care about. By taking a few minutes to enable face grouping, name your groups, and manually add missing faces, you can make this feature even more useful.
The ability to merge duplicate groups, remove incorrect matches, and hide groups you don’t want to see helps keep your People view tidy and relevant to you. And best of all, the face groups and names are completely private to your account, so feel free to label them however you’ll best remember them.
With your new face grouping skills, you’ll be able to relive memories and find photos of friends and family faster than ever. So open up Google Photos and give it a try!

Leave a Reply