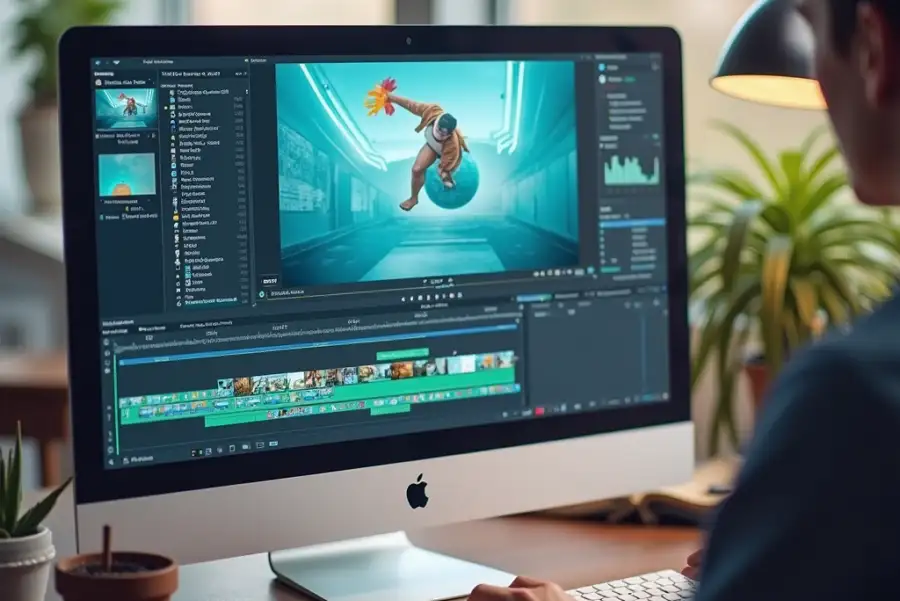
If you’re looking to extract images from videos using Canva, you’re in the right place! While Canva is primarily known for its graphic design capabilities, it doesn’t directly support video-to-image conversion. However, I’ll guide you through a workaround that involves using other tools in conjunction with Canva to achieve your goal.
Converting video to images can be useful for creating thumbnails, GIFs, or even static images for presentations. The process might seem a bit complex, but with the right tools and steps, it’s quite manageable. In this article, I’ll walk you through how to do it efficiently.
Understanding the Process
To convert video to images, you’ll typically need a video editing or conversion tool. Since Canva doesn’t directly support this, we’ll use an external tool to extract frames from the video and then import them into Canva for editing.
Steps to Convert Video to Images
Step 1: Choose a Video-to-Image Tool
First, you need a tool that can extract frames from your video. There are several options available, including online tools like ClipConverter or Online-Convert, and software like Adobe Premiere Pro or Shotcut.
- ClipConverter: This is a free online tool that allows you to convert videos into various formats, including extracting frames as images.
- Adobe Premiere Pro: A professional video editing software that can be used to export video frames as images.
Step 2: Extract Frames from Video
If using an online tool like ClipConverter:
- Go to the ClipConverter website.
- Upload your video file.
- Choose the output format as images (e.g., JPEG).
- Adjust settings like frame rate or interval if needed.
- Download the extracted images.
If using Adobe Premiere Pro:
- Open your video in Premiere Pro.
- Go to File > Export > Media.
- In the export settings, choose Image as the output format.
- Set the frame rate or interval for exporting frames.
- Export the frames.
Step 3: Import Images into Canva
Once you have your images, you can import them into Canva for further editing:
- Open Canva and create a new project.
- Click on Uploads and select the images you extracted.
- Use Canva’s editing tools to adjust, resize, or enhance your images as needed.
Step 4: Edit and Use Your Images
Now that your images are in Canva, you can use them for various purposes:
- Create a Presentation: Use the images to illustrate points in a presentation.
- Design a Thumbnail: Edit an image to make it more engaging as a thumbnail.
- Make a GIF: Use multiple images to create a simple GIF.
Tips for Working with Images in Canva

- Use Templates: Canva offers many templates that can help you quickly design with your images.
- Experiment with Effects: Canva’s effects can add a professional touch to your images.
- Collaborate: Invite others to edit your designs in real-time.
Conclusion
Converting video to images might require a few extra steps, but with the right tools and a bit of creativity, you can achieve great results. By using external tools to extract frames and then editing them in Canva, you can create stunning visuals for any project.
FAQs
How Do I Choose the Best Frames?
Choose frames that best represent the content or emotion you want to convey. You can preview your video and select key moments.
Can I Use Other Tools Besides Canva?
Yes, you can use other design tools like Adobe Photoshop or Illustrator for more advanced editing.
Are There Free Tools for Video-to-Image Conversion?
Yes, tools like ClipConverter and Shotcut are free and can help you convert videos to images.
How Do I Optimize Images for Web Use?
Use Canva’s compression tools or external tools like TinyPNG to reduce image size without losing quality.
Can I Use These Images for Commercial Purposes?
Ensure you have the rights to use the images commercially. If using stock footage, check the licensing terms.

Leave a Reply