Editing photos on your phone allows you to tweak and improve your shots whenever inspiration strikes, without needing to transfer them to a computer first. The Google Photos app puts robust editing tools at your fingertips, allowing you to transform good photos into great ones with just a few taps.
In this simple guide, we’ll walk through the key steps for editing photos on your phone using the Google Photos app.
1. Open the Google Photos app on your Android.
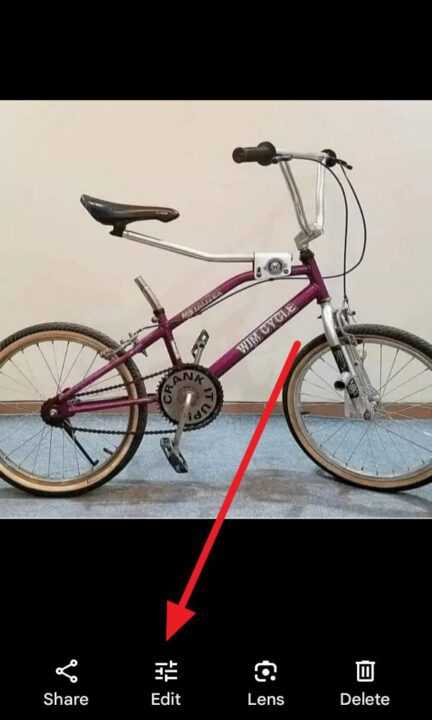
2. Tap on the photo you want to edit.

3. Tap the Edit icon at the bottom of the screen.

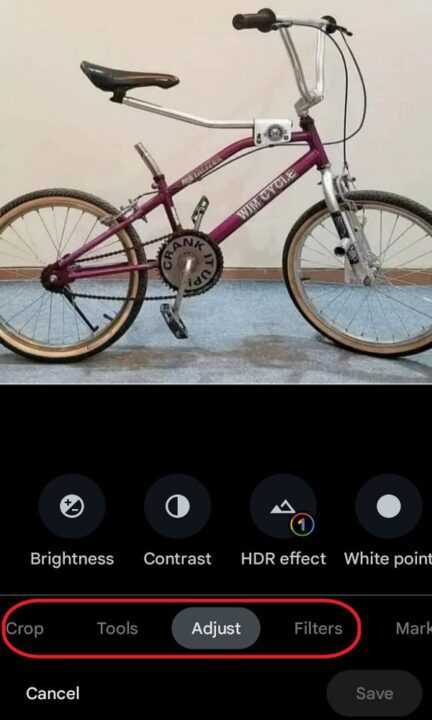
4. Next, you can edit the photos using tools such as Filters, Adjustments, Crop, etc.

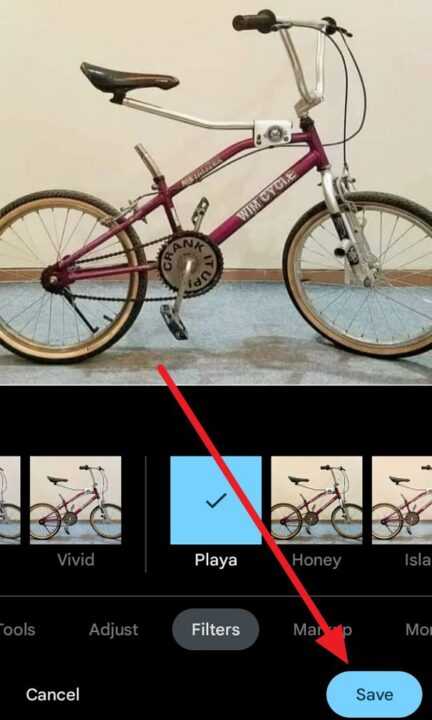
- Filters allow you to apply effects to change the look of your photos.
- Adjustments can enhance aspects like light and color.
- The Crop tool lets you remove unwanted areas or compose shots for better aesthetics.
5. Tap Save when finished edit the photo.

Editing photos directly on your Android is quick, easy, and convenient with the Google Photos app. With its user-friendly interface and versatile editing tools for applying filters, adjustments, text, doodles, and more, you have all you need to take your mobile photography to the next level.
So next time you capture a great phone photo, open up Google Photos to edit it into something spectacular to share with friends and family. With a few simple taps, your photos can go from good to great!

Leave a Reply